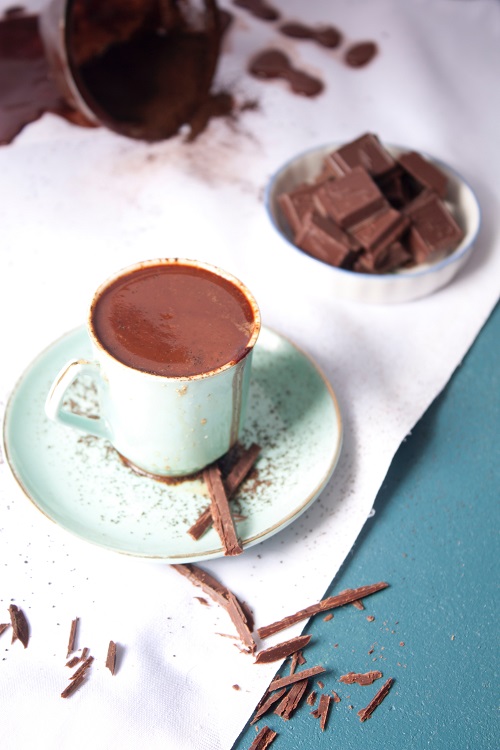
Melting chocolate can be a piece of cake, especially when you’ve got your meater probe in your hand.
Steps
Let’s break it down in simple steps:

Step 1: Get Your Stuff
Grab what you need:
Chocolate (the good stuff)
Microwave-safe bowl
Your trusty Meater Probe
Microwave or stove
A spoon or spatula
Step 2: Chocolate Prep
Chop up that chocolate into small bits. The smaller, the better. Dark, milk, or white—your call, but go for quality.
Step 3: The Microwave Move (Easiest Way)
Chuck the chocolate in a microwave-safe bowl.
Zap it on low or medium (around 50%) for about 20–30 seconds at a time.
Stir it up gently after each go.
Keep at it until it’s almost all melted. Slow and steady wins the race, so you won’t scorch it.
When it’s getting close, go for 10-15 second intervals. Stir after each blast.
Use your Meater Probe to hit the sweet spot; aim for 90°F to 115°F (32°C to 46°C).
Step 4: Stove-Top Style
Get a saucepan with an inch of water simmering.
Plop your chopped chocolate in a heatproof bowl. Make sure it doesn’t swim in the water.
Stir it as it melts.
Keep tabs on your Meater Probe. When it hits 90°F to 115°F (32°C to 46°C), it’s time to call it.
Step 5: The Finish Line
As soon as your chocolate hits the right temperature, pull it off the heat; every degree counts.
Keep stirring until it’s super smooth and shiny.
Now it’s all set for whatever you’re cooking up—dip fruit, drizzle desserts, or coat candies. Enjoy the melt-in-your-mouth goodness!
Step 6: Clean up
Don’t forget to give your Meater Probe some TLC after its chocolate adventure. Wipe it down gently with a damp cloth to get rid of any chocolate residue.

Conclusion
With these easy-peasy steps and your Meater Probe by your side, you’ll nail that perfect chocolate melt every time. Happy melting and munching!

